Creating GTA V Cinematics (Beginner Guide)
U1D Team
April 29, 2026 · 5 min read
What Makes a Scene “Cinematic”?
Before jumping into tools and settings, it is important to understand what defines cinematic visuals.
A cinematic scene typically includes:
- Controlled lighting and contrast
- Intentional camera movement
- Depth and composition
- Strong atmosphere (weather, time of day)
- Clean, natural color grading
U1D GFX helps achieve these elements by improving the game’s core visuals, making it easier to capture cinematic moments without heavy editing.
Step 1: Install and Set Up u1dgfx
To begin, you need U1D GFX Remastered installed and working properly.
Choose the Right Version
- Base Remastered ($10): Good for performance
- Remastered Full ($16): Recommended for cinematics (includes addons)
- Early Access ($20): Same as Full with early updates
For cinematic work, the Full version is strongly recommended.
Step 2: Configure Your Graphics Settings
Your in-game settings should prioritize visual quality while remaining stable.
Recommended Beginner Settings
- Texture Quality: High or Very High
- Shader Quality: High
- Shadow Quality: High
- Reflection Quality: Medium or High
- Post FX: High or Ultra
- Motion Blur: Off
Stability is important. Dropped frames can ruin smooth cinematic shots.
Step 3: Use the Right Camera Tools
Default GTA V camera controls are limited. To create true cinematic shots, you need more control.
Freecam Tools
Freecam allows you to:
- Move the camera freely
- Adjust angles and height
- Capture dynamic perspectives
Most FiveM servers or external tools provide freecam functionality.
Step 4: Master Basic Camera Techniques
Even simple techniques can dramatically improve your visuals.
Slow Camera Movement
- Smooth pans create a cinematic feel
- Avoid sudden or jerky motion
Framing Your Shot
- Keep your subject slightly off-center
- Use the environment to guide the viewer’s eye
Depth
- Include foreground and background elements
- Avoid flat, empty scenes
Step 5: Use Lighting to Your Advantage
Lighting is the most important element in cinematics.
Best Times to Shoot
#### Golden Hour (Sunrise/Sunset)
- Warm tones
- Long shadows
- Natural cinematic lighting
#### Night
- Strong artificial lighting
- Reflections from street lights
- Dramatic contrast
#### Overcast
- Soft lighting
- Realistic tone
U1D GFX enhances all these conditions, making them easier to work with.
Step 6: Choose the Right Weather
Weather adds mood and storytelling to your scenes.
Recommended Weather Types
- Clear: Clean and vibrant visuals
- Rain: Reflections and atmosphere
- Fog: Depth and cinematic tension
Switching weather can completely change the tone of your scene.
Step 7: Enable U1D GFX Addons for Detail
If you are using Remastered Full, take advantage of addons.
Useful Addons for Cinematics
- Road Overhaul: Better driving shots
- White Street Lights: Cleaner night scenes
- Weapon Effects: More realistic action shots
These small details make a big difference in final footage.
Step 8: Record Your Cinematics
Recording Options
- Use built-in recording tools (like Rockstar Editor if applicable)
- Use external software (OBS, ShadowPlay, etc.)
Recording Tips
- Record at high resolution (1080p minimum, 1440p or 4K preferred)
- Use high bitrate for better quality
- Keep FPS stable for smooth playback
Step 9: Basic Editing for Beginners
You do not need advanced editing skills to improve your footage.
Simple Edits
- Trim unnecessary clips
- Add smooth transitions
- Adjust brightness and contrast
- Add subtle color grading
Avoid over-editing. Let U1D GFX handle most of the visual work.
Step 10: Build Your First Cinematic Scene
Start simple.
Example Scene Idea
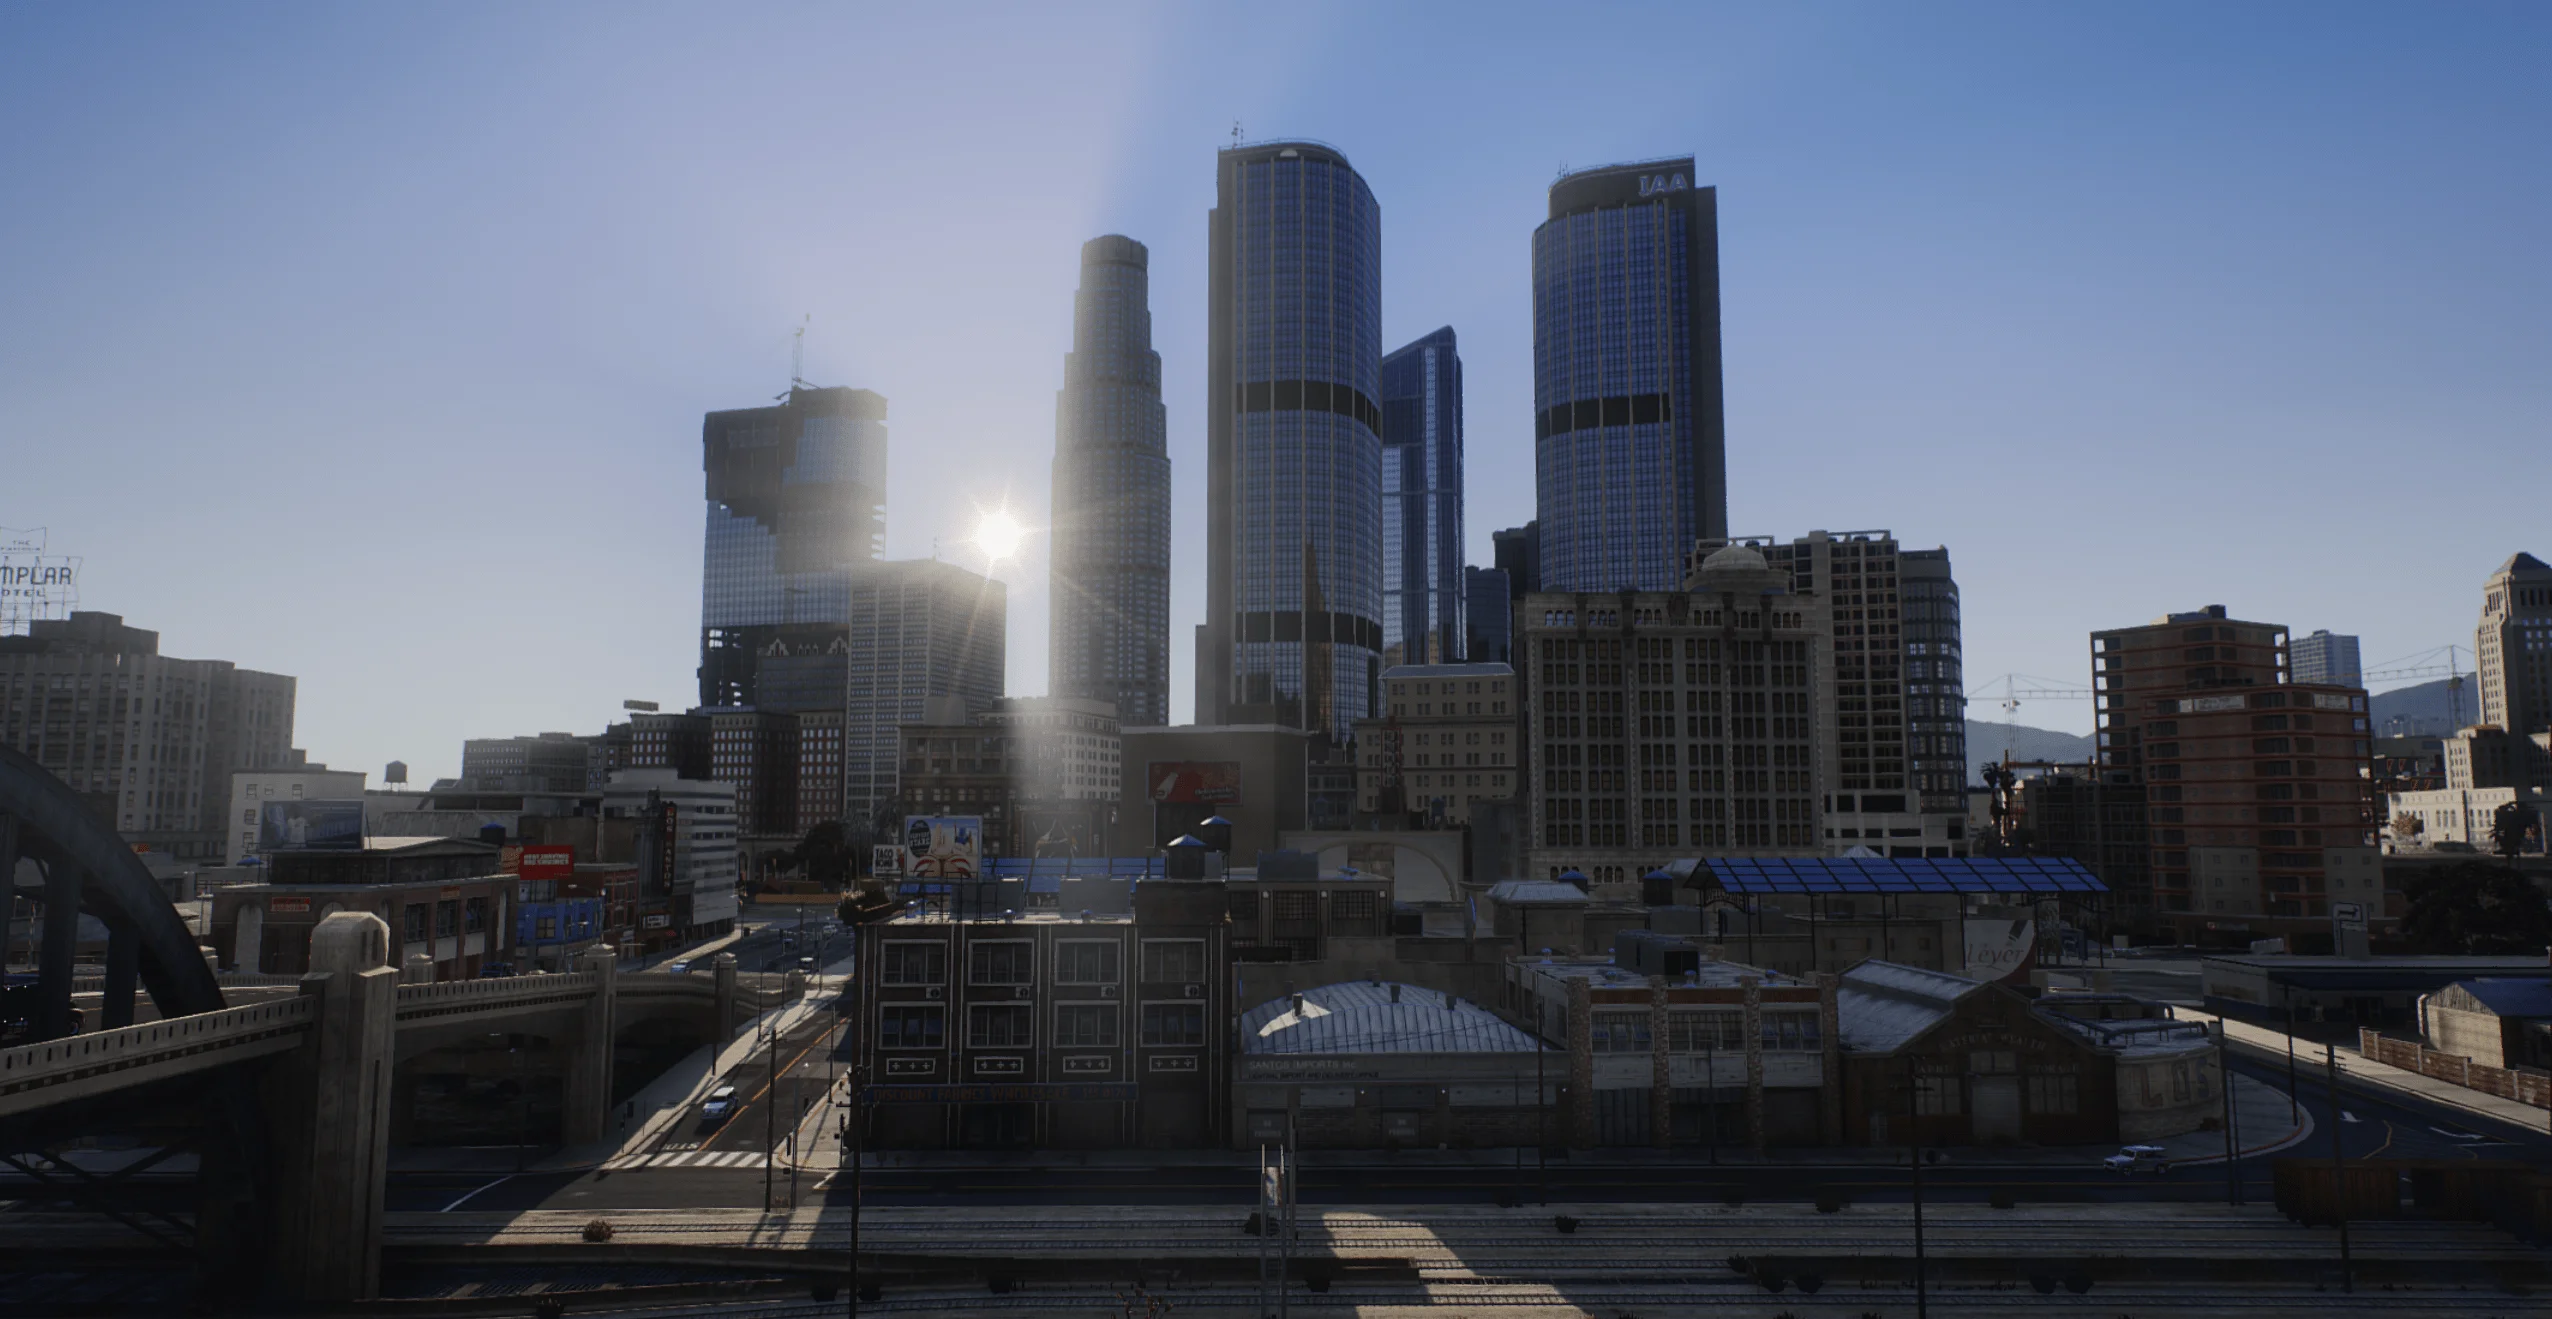
- Location: Downtown Los Santos
- Time: Sunset
- Weather: Clear
- Shot Type: Slow pan of a car driving through the city
Focus on:
- Smooth camera movement
- Good lighting
- Clean composition
Once you are comfortable, you can move to more complex scenes.
Common Beginner Mistakes
- Moving the camera too fast
- Shooting in poor lighting conditions
- Ignoring composition
- Using too many visual effects
- Recording with unstable FPS
Avoiding these mistakes will instantly improve your results.
How U1D GFX Makes Cinematics Easier
Without graphics mods, achieving cinematic quality requires heavy editing. U1D GFX changes that by:
- Providing natural lighting out of the box
- Enhancing weather and atmosphere
- Improving environmental detail
- Reducing the need for post-processing
This allows beginners to focus on creativity instead of technical limitations.
Creating GTA V cinematics does not require professional tools or advanced experience. With U1D GFX Remastered and a basic understanding of lighting, camera movement, and composition, anyone can start producing high-quality cinematic content.
The key is to start simple, experiment, and gradually refine your technique.